JUSTNAILS Silikon Mold Form 110
Prices incl. VAT plus shipping costs
Ready to ship today,
Delivery time appr. 1-3 workdays
- Order number: JN12862
Vorteile
- Kostenloser Versand ab € 80,- Bestellwert
- Versand innerhalb von 24h*
- High Quality Produkte
JUSTNAILS silicone molds
Our silicone molds for your nail design offer versatile options for designing your nails with gel or acrylic. Thanks to the flexible silicone structure, you can press the mold directly onto the nail and cure it with a small UV hand lamp to achieve a perfect fit to the natural nail curvature.
Possible applications:
1.Press directly onto the nail: Fill the mold with clear thin to medium viscosity build-up gel and let it cure in the mold for only 1-3 seconds in a UV lamp. It should have hardened so little that it does not run out of the mold, but is still flexible enough to take the shape of the nail on which you are now pressing the mold. Now you can take your time placing it. Press the silicone mold onto the nail and bend it slightly into the C-curve of the nail (so that the mold does not stick out at the sides later). Cure the material with a small lamp from the back of the mold while continuing to press the mold onto the nail. It is important that you have both your hands free to hold the mold and that you do not have a distracting lamp in the area that could cause the mold to slip. A stand-alone small UV lamp, such as the one for press-on nails, is perfect for this. This method makes it possible to match the nail shape exactly and ensures a natural look. Make sure that the substrate either still has the sweat layer on it or is completely frosted so that the shape can adhere correctly. When you can pull the mold away, it's time to paint the artwork with color gel. Use any color gel of your choice and seal it with a very, very thin layer. Make sure that your sealing gel has a very thin viscosity so that you can still see the structures of the mold.
TIP: 1. use a small nail art brush to spread the sealer. 2. Matte shapes look much more delicate and aesthetic. It is best to seal the shapes with a matte sealing gel.
2.Preparation and application: Fill the shape with a color gel of your choice (viscosity should be creamy to thick. Choose the color that should later be visible from above. You can also use different colors in one mold). Apply the gel thinly but opaquely to all edges and, above all, well up to the side edges. Now cure it for the first time in a UV lamp. Now you can completely fill the mold cavities with a clear, thin to medium viscosity build-up gel. Attach the resulting shape to the nail with a gel without a sweat layer or a tip adhesive and cure it again. Make sure that the base must either still have the sweat layer on or be completely matted so that the shape can adhere correctly. Now seal it with a very, very thin layer. Make sure that your sealing gel has a very thin viscosity so that the structures of the mold are still clearly visible.
TIP: 1. use a small nail art brush to spread the sealer. 2. Matte shapes look much more delicate and aesthetic. It is best to seal the shapes with a matte sealing gel.
Advantages:
Versatility: Suitable for various nail extension and strengthening techniques.
Adaptability: The silicone mold adapts to the natural curvature of the nail, which leads to a harmonious and natural result.
Easy to use: The flexible structure of the mold makes it easy to remove and reuse.
Scope of delivery: 1 transparent silicone mold
Bewertung
Die schleifen sind super super süß und man kriegt jede Feinheit aus der Form mit. Meine Lieblings Form von allen :)
 JUSTNAILS fusselfreie lint free Wipes ultra slim 500pcs
 JUSTNAILS GUMMY Gel - Press on gel without sticky layer
 JUSTNAILS Modern Pediküre Disc Wechselblätter PRO25
 JUSTNAILS 500 Premium Coffin Shape Tips - Individual sizes
 JUSTNAILS SET DUO - Primer Ultra Double Bond & Ultra Prep Dehydrator
 JUSTNAILS Honey Builder™ FLUID No File - PINKY PROMISE
 JUSTNAILS Honey Builder™ FLUID No File - INNER PEACE
 JUSTNAILS 500 Premium Coffin Shape Tips - Individual sizes
 JUSTNAILS Gel Polish Color - SUMMER LEMONADE - Shellac Soak-off
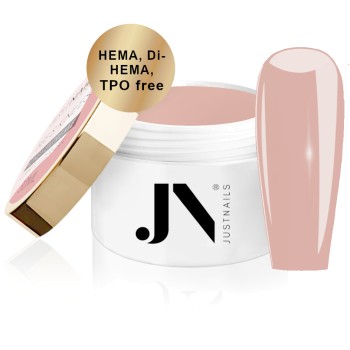 JUSTNAILS Honey Builder™ CREAM - ALMOND BUTTER
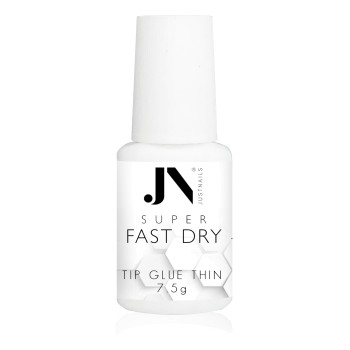 JUSTNAILS Tip glue nail glue in brush bottle 7ml
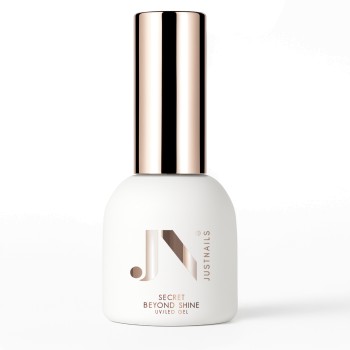 JUSTNAILS Secret Beyond Shine


